Installation
PowerAim is a portable Windows desktop app. There is no required installer — you can run it from any folder, including a USB stick. An optional installer is provided that creates Start-menu shortcuts and a Programs-and-Features entry.
1. Install the prerequisites
Both are one-time installs. Skip whichever you already have.
- .NET Runtime 10 (x64) — download here
- Pick the Desktop Runtime (not the SDK) unless you plan to build PowerAim from source.
- Visual C++ 2015-2022 Redistributable (x64) — download here
Both must be x64 — PowerAim does not work with the x86 / ARM variants. If you accidentally install x86, uninstall it and grab x64.
2. Pick a build: DirectML or CUDA
PowerAim ships two release flavors:
| Build | File name pattern | Hardware |
|---|---|---|
| DirectML (default) | PowerAim-*.zip or PowerAim-*-Installer.exe |
Any DX12-capable GPU |
| CUDA (faster on NVIDIA) | PowerAim-*_cuda.zip or *_cuda-Installer.exe |
NVIDIA GPU + CUDA 12.x runtime |
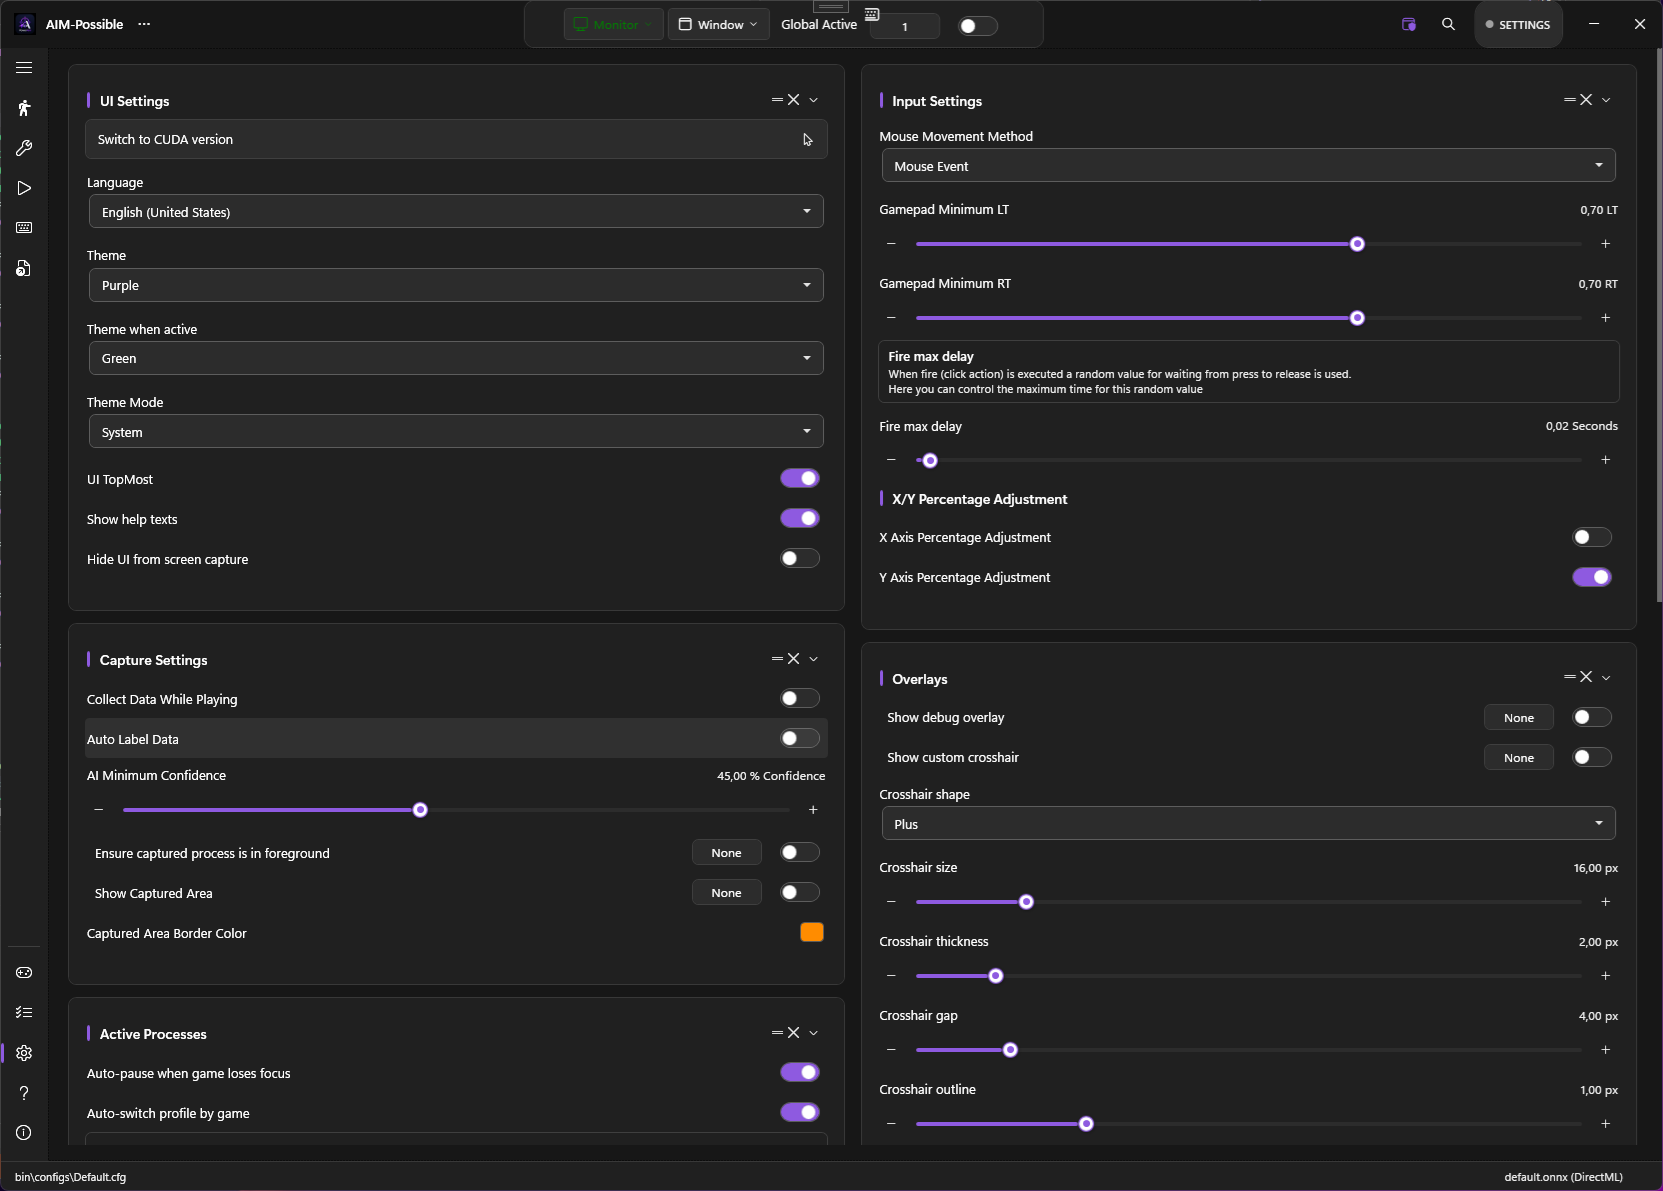
If unsure, start with DirectML. You can switch later from the Settings page without losing your config.
3. Download
Grab the latest release from the Releases page. Each release has four assets:
PowerAim-x.y.z.zip                  # DirectML, portable
PowerAim-x.y.z-Installer.exe        # DirectML, with installer
PowerAim-x.y.z_cuda.zip             # CUDA, portable
PowerAim-x.y.z_cuda-Installer.exe   # CUDA, with installer
4. Install
Option A — Installer (recommended)
Run PowerAim-*-Installer.exe. It places PowerAim into %LocalAppData%\Programs\PowerAim, adds a Start-menu shortcut, and registers an uninstaller. No admin rights required.
Option B — Portable
Extract the .zip to a folder of your choice (e.g. C:\Tools\PowerAim). Run Launcher.exe from inside — it starts the app for you (see Smart launcher below).
The first launch is slower than subsequent ones — PowerAim probes DXGI support, loads ONNX models, and initializes the binding hook. After that, cold start is under 2 seconds on most machines.
Smart launcher
You always start PowerAim through Launcher.exe (the installer shortcut and the in-app updater both point at it). Each time it runs, the launcher gives the main app a fresh, randomized executable name before starting it:
- It locates the app executable next to itself.
- It renames that executable to a random 8-character name (e.g.
aB3xK9pQ.exe). - It starts the renamed executable and then exits — so the running PowerAim process has a different name on every launch.
If no app executable is present yet, the launcher switches into installer mode instead (see below).
Because the executable name changes every run, don’t pin or whitelist PowerAim by a fixed .exe name — pin Launcher.exe (or the Start-menu shortcut) instead.
Installer mode
When the launcher finds no app build alongside itself, it turns into a small installer:
- Version picker — it fetches the available releases from GitHub and lets you choose which version to install.
- CUDA build checkbox — shown only when the selected release ships a
*_cuda.zipasset. Tick it to install the CUDA build instead of DirectML; leave it unticked for DirectML. - Custom install directory — defaults to the launcher’s own folder, with a Browse button to install somewhere else.
Click install and it downloads the chosen build, extracts it into the install directory, and from then on the launcher runs in smart-launcher mode.
5. (Optional) Install ViGEmBus
If you plan to use any gamepad feature — controller mapping, AutoPlay with gamepad output, or “Use controller for aim” — install ViGEmBus.
Easiest path:
- Launch PowerAim
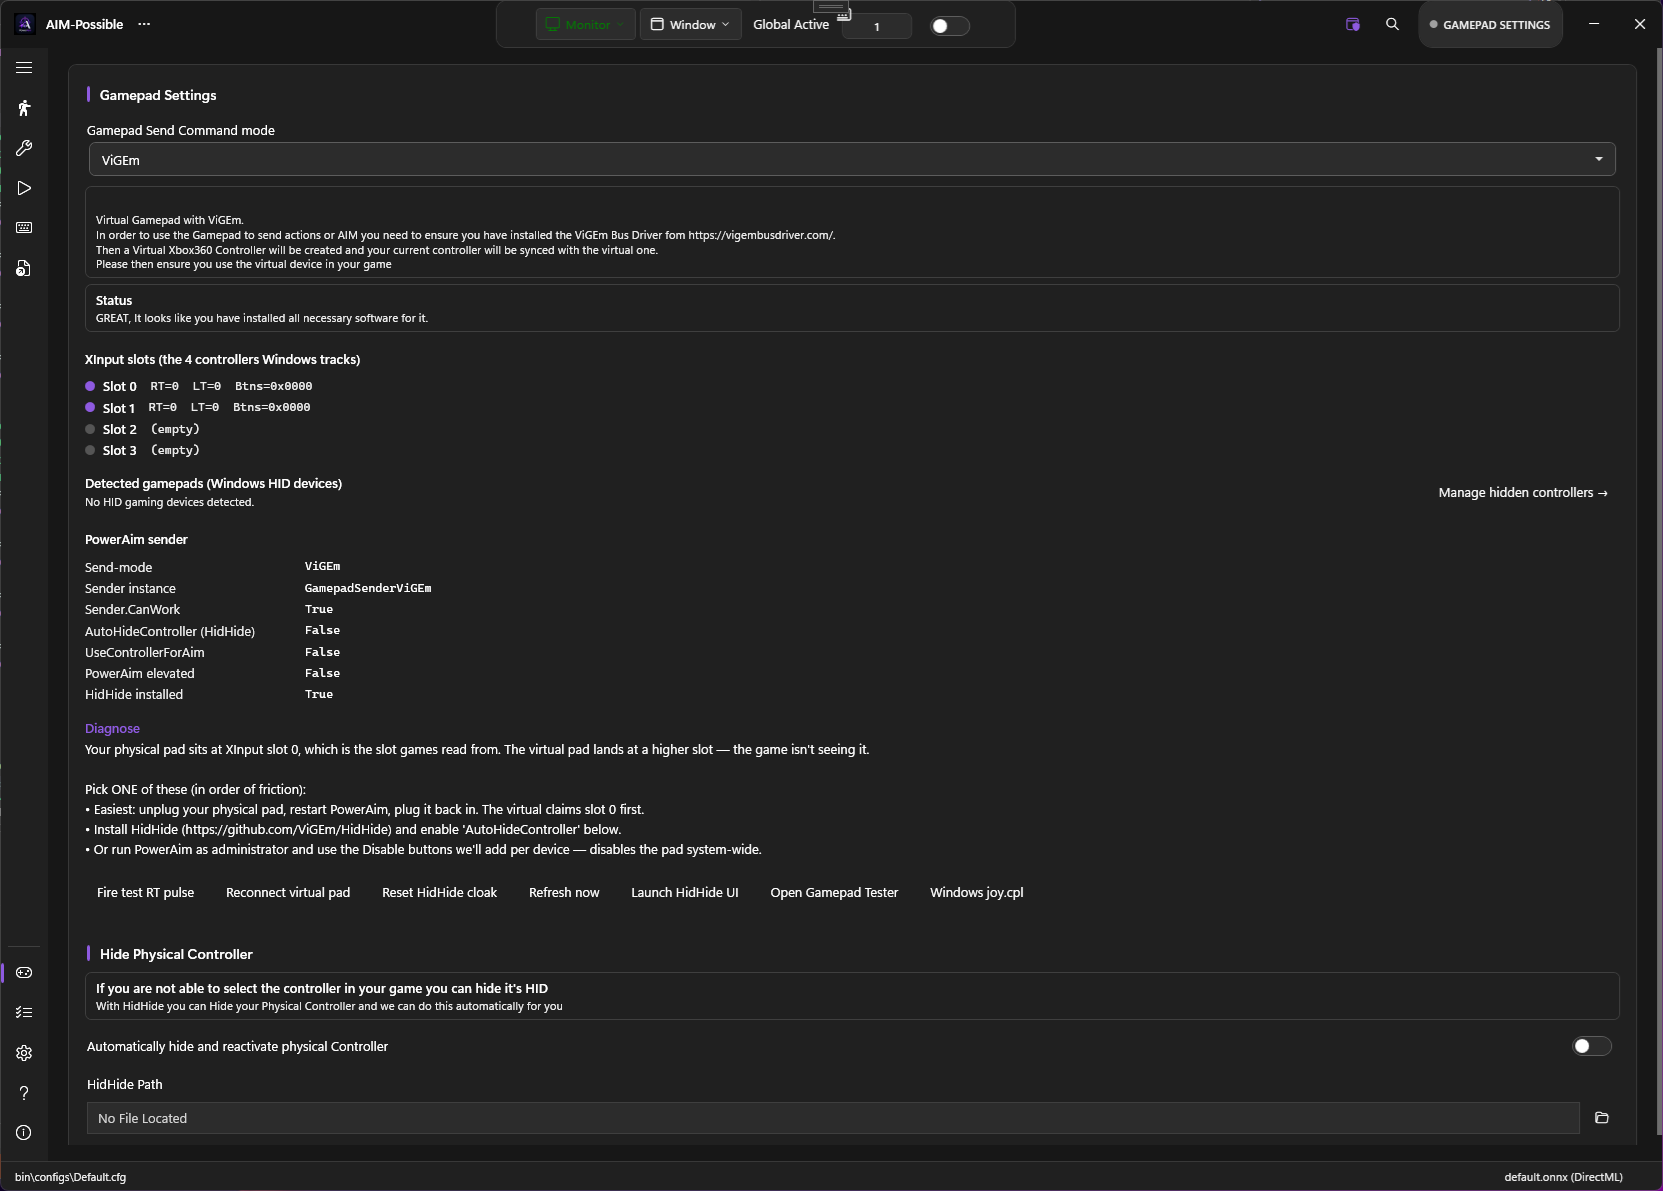
- Open Gamepad in the sidebar
- Click “Get ViGEmBus driver” — it opens vigembusdriver.com in your browser
- Download and run
ViGEmBus_Setup_x.x.xx_x64.exe - Back in PowerAim, click any other sidebar item then click Gamepad again — the status line should now say “PowerAim is ready to send Gamepad signals”
6. (Optional) Install HidHide
Only needed if you want to cloak your physical controller from games while a mapping profile is active. PowerAim ships the installer — on the Gamepad settings page, click “Install HidHide” and follow the prompts. A reboot is required.
See Hidden Controllers for what HidHide does and when you need it.
Where PowerAim stores its data
| Location | What lives there |
|---|---|
<install dir>\bin\models\*.onnx |
Bundled and downloaded ONNX models |
<install dir>\bin\configs\*.cfg |
Saved configuration presets |
<install dir>\bin\anti_recoil_configs\* |
Per-gun recoil config files |
%AppData%\AI-M\LastConfigPath.cfg |
Pointer to the config that was loaded last |
%LocalAppData%\PowerAim\tessdata\ |
Tesseract OCR data |
%LocalAppData%\PowerAim\replays\ |
Replay-buffer export folder (default) |
%LocalAppData%\PowerAim\autoplay_model.json |
Recorded AutoPlay learning model (default) |
The whole app is portable — copying the install directory to another machine preserves all bundled assets. Per-user state lives under %LocalAppData% and %AppData% and is not copied.
Uninstalling
- Installer build: Settings → Apps → PowerAim → Uninstall
- Portable build: delete the folder. Optionally also delete
%LocalAppData%\PowerAimand%AppData%\AI-M.
If you installed ViGEmBus and / or HidHide and want them gone too, uninstall them separately from Windows Settings.
Updating
PowerAim ships with a built-in updater. It checks GitHub for a newer release than the version you’re running; when one is available you’ll see a notice bar at the bottom of the window. Click it to open the update dialog, which downloads the new build and applies it in place in your current install directory.
The updater replaces the program files but preserves your config: the default config files (Default.cfg, Default Gamepad.cfg, Default Keyboard.cfg under bin\configs\) are skipped during the copy, and any other config you’ve saved is left untouched. After the files are swapped, the launcher restarts the app for you.
The updater honors the build you’re on — a DirectML install updates to the next DirectML release, a CUDA install to the next CUDA release. To switch between builds, use Switch to DirectML / CUDA on the Settings page instead.
If you’d rather update manually, just download a fresh release and overwrite the install directory. Your config (under bin\configs\ and %AppData%\AI-M\) is preserved.